Wednesday 22 December 2010

How convert Excel charts into bitmap images

I have found information online about making knitting charts in Excel, but once the chart is made, I didn't find a satisfactory method to convert these charts into bitmaps, to use as images online, paste into Word, or to use in PDF documents. A simple screenshot will have poor resolution, especially when working with bigger charts.

This is the method I came up with, there is a bit of going back and forth between platforms, but the result will be a high resolution image.

First, you need to draw your chart in Excel, or a similar spreadsheet program. Using a knitting font such as this one, it will be easy. There are also several tutorials online about drawing your knitting charts with Excel, they will show up in a quick Google search.

Ok, we have our chart finished:


Now we will convert it to PDF format. So let's first select just the chart (or everything we want to export):


Then we will go to the Office Button and click on Save as > PDF or XPS:


We will then click on Options, and select the Selection radio button, then click OK:


NOTE FOR BIG CHARTS
If your chart is very big, it will be cut off in different pages when you export to PDF. To avoid this, in Excel, go to the Office Button > Print > Print Preview. In this screen, click on Page Setup. Under Scaling, set the Fit to to one page wide by one page tall (you may also want to choose landscape if the chart is long), then click OK and exit the Print Preview. When you export the selection onto PDF, it will then be fitted to one page wide by one tall.


Now we have a PDF file in the destination folder we chose, with the chart in it. If you want to publish only your chart in PDF format (you can also add a little text in the Excel file), this will be your last step.

To convert to image, we will now need to open the PDF in a program that will allow us to do this, like for example GSview.


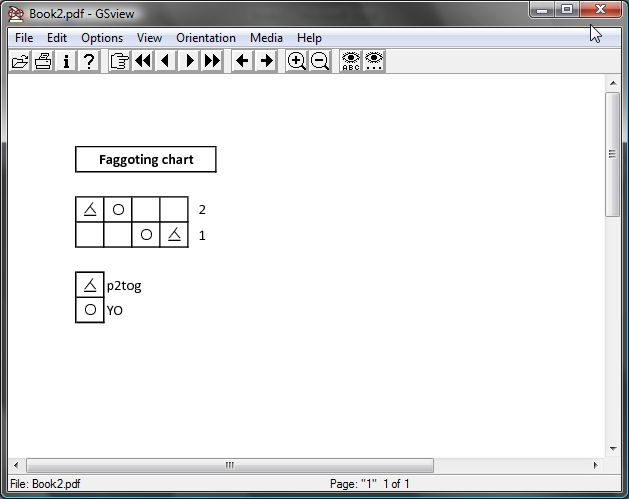
We will now go to File > Convert, and in the menu choose jpeg and 600 resolution, then click Ok:


Don't forget to add the .jpg extension when chosing a filename.

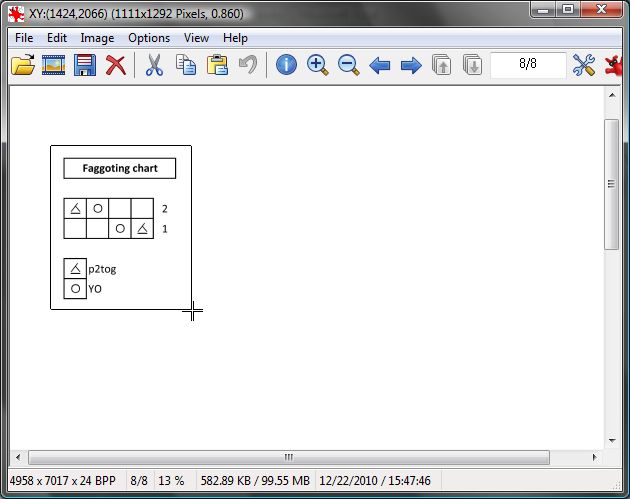
Now we have a high resolution jpeg file in the destination folder we chose. We can now edit this image in an image edition program such as IrfanView.

We can crop it and resize it, for example. If you want to use it in Word or for a PDF, you may want a bigger resolution than for web. Let's crop and resize this picture to use it in Word. We select the area we want, then crop it by going to Edit > Crop selection:


We will still have a very big image:


So we will resize it, go to Image > Resize/resample, then choose your width or height:


Now we can insert this image into Word. Open your Word file and place your cursor where you want to insert the image. Then click on Insert > Picture:


And select your cropped image. You can now resize it as you like:


Going one step further, you can also convert your finished word document to PDF for publishing.
Go to the Office Button and click on Save as > PDF or XPS:


Tada!


Monday 20 December 2010

First post

I have decided to start a blogger knitting... blog ;P

I also have a knitting livejournal, but 90% of my posts there are private, notes to myself, pattern notes, links to other websites, wishlists, stuff like that. The one useful post there may be this one: Online Yarn Shops in Europe. Maybe I should copy it here later on. This list was compiled with the help of many helpful members from Ravelry. My username in Ravelry is medvssa.

Despite the fact that I only started knitting in March 2009, I love it and I have a lot of ideas, so I have started writing my own little patterns. I think I will put them up in Ravelry, but it would also be a nice idea to have them elsewhere, so this blog will be it. I have also my own website, my enamelled jewellery gallery: www.innershelter.net, so I can host my patterns there.

And that will be all for now, I guess ;P A mitten pattern or two coming very soon!

Monday 15 November 2010

Mistletoe II


Enamel over copper, brass, peridot, vesuvianite and moss agate.
Enamel 5.5 x 2.5 cm, 44 to 51 cm adjustable lenght of necklace + 2 earrings (4.5 cm long).


Mistletoe III

Enamel over copper, sterling silver, assorted beads:
Glass, aventurine, calcite, different sorts of agate, aragonite, labradorite and peridot.
5 x 3.3cm, 47 cm lenght of necklace + 2 earrings (5 and 5.5 cm long).

Falciot

 
Graphite and enamel over copper, sterling silver, agate beads, and three glass beads (the grey ones at the center and the drop at the back).

2.5cm diameter. 48 cm long necklace.


Wednesday 11 August 2010

TBC III


TBC III
On glaze paint over enamel over copper, sterling silver, quartz, coral and lace.


Sunday 25 July 2010

Spell of Destruction

Spell of Destruction

Enamel: 8 x 5 cm, total pendant: 8 x 10 x 0.6 cm, necklace: 42.5 cm.
Enamel and onglaze paint over copper, sterling silver, volcanic stone, ebony, carbonised beech, cornaline.


Tuesday 20 July 2010

Rising copper

New video!

This video shows fragments from a process of about two hours.

Here I am raising 0.8mm rectangular copper sheet, doming it from the center in a soft slope towards all edges which lay flat on the table.

Due to the hardening of the copper as it is worked, I annealed (and pickled, which is not shown) the metal several times to re-cristallise the molecules.

The sheet is worked over a flat anvil with a boxwood hammer and a steel hammer, the latter has a "drop of wax" polished head that transfers this sheen onto the copper. I also used a steel burnisher for laying the edges flat.
The raising hammering motion follows a nearly-spiral pattern, from the center to the edges, and the hammering stops at two or three millimeters from the edge. This process is repeated, and little adjustments made, several times, until the desired shape is achieved and the plate doesn't wobble when spun, which shows if the curves are balanced.

The final polish is achieved with a glass fiber brush and powdered pumice stone. After a final cleaning of grease, dirt and any oxide that may be left, the plate will be ready for enamelling.

Sunday 6 June 2010

Enamelling and painting videos

To watch them in order, go here.

Some new videos!


And a few older ones that fell between the cracks:


Sunday 30 May 2010

Àlbers argentats

Today I have finished the enamel for the piece I have been working on, which I have been recording on video. I am now processing more videos to upload, stay tuned.


Àlbers argentats (silver poplars).

Painted enamel (background), silver foil, burnishable silver and on glaze paints.